

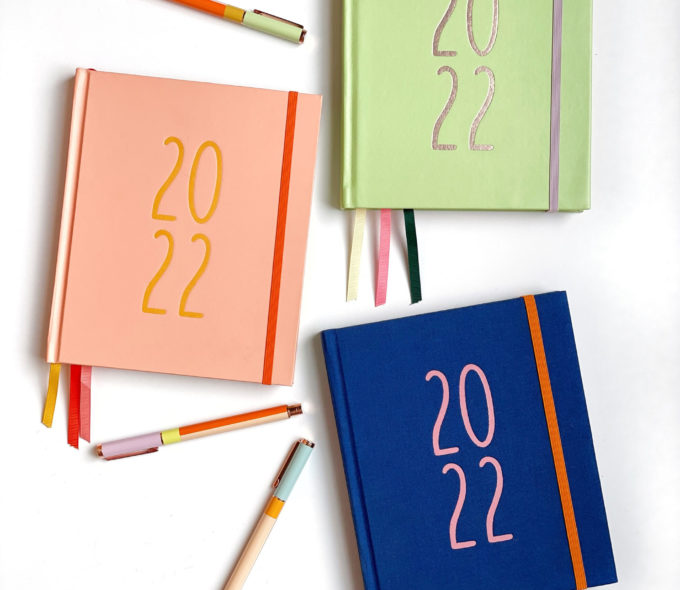
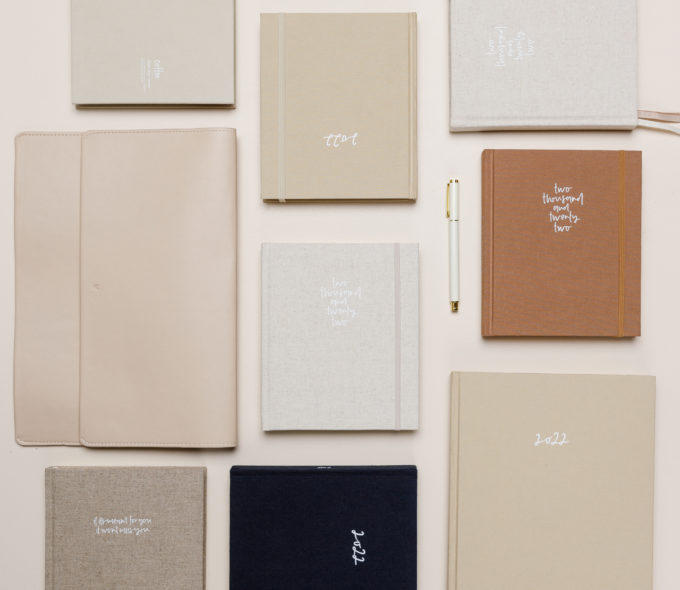
Today marks the very first day of your 2022 Emma Kate Co. [weekly] planner!
As we dip our toes into all the exciting and beautiful things of the upcoming year, here are some of our top tips on how to make the most of your planner layout.

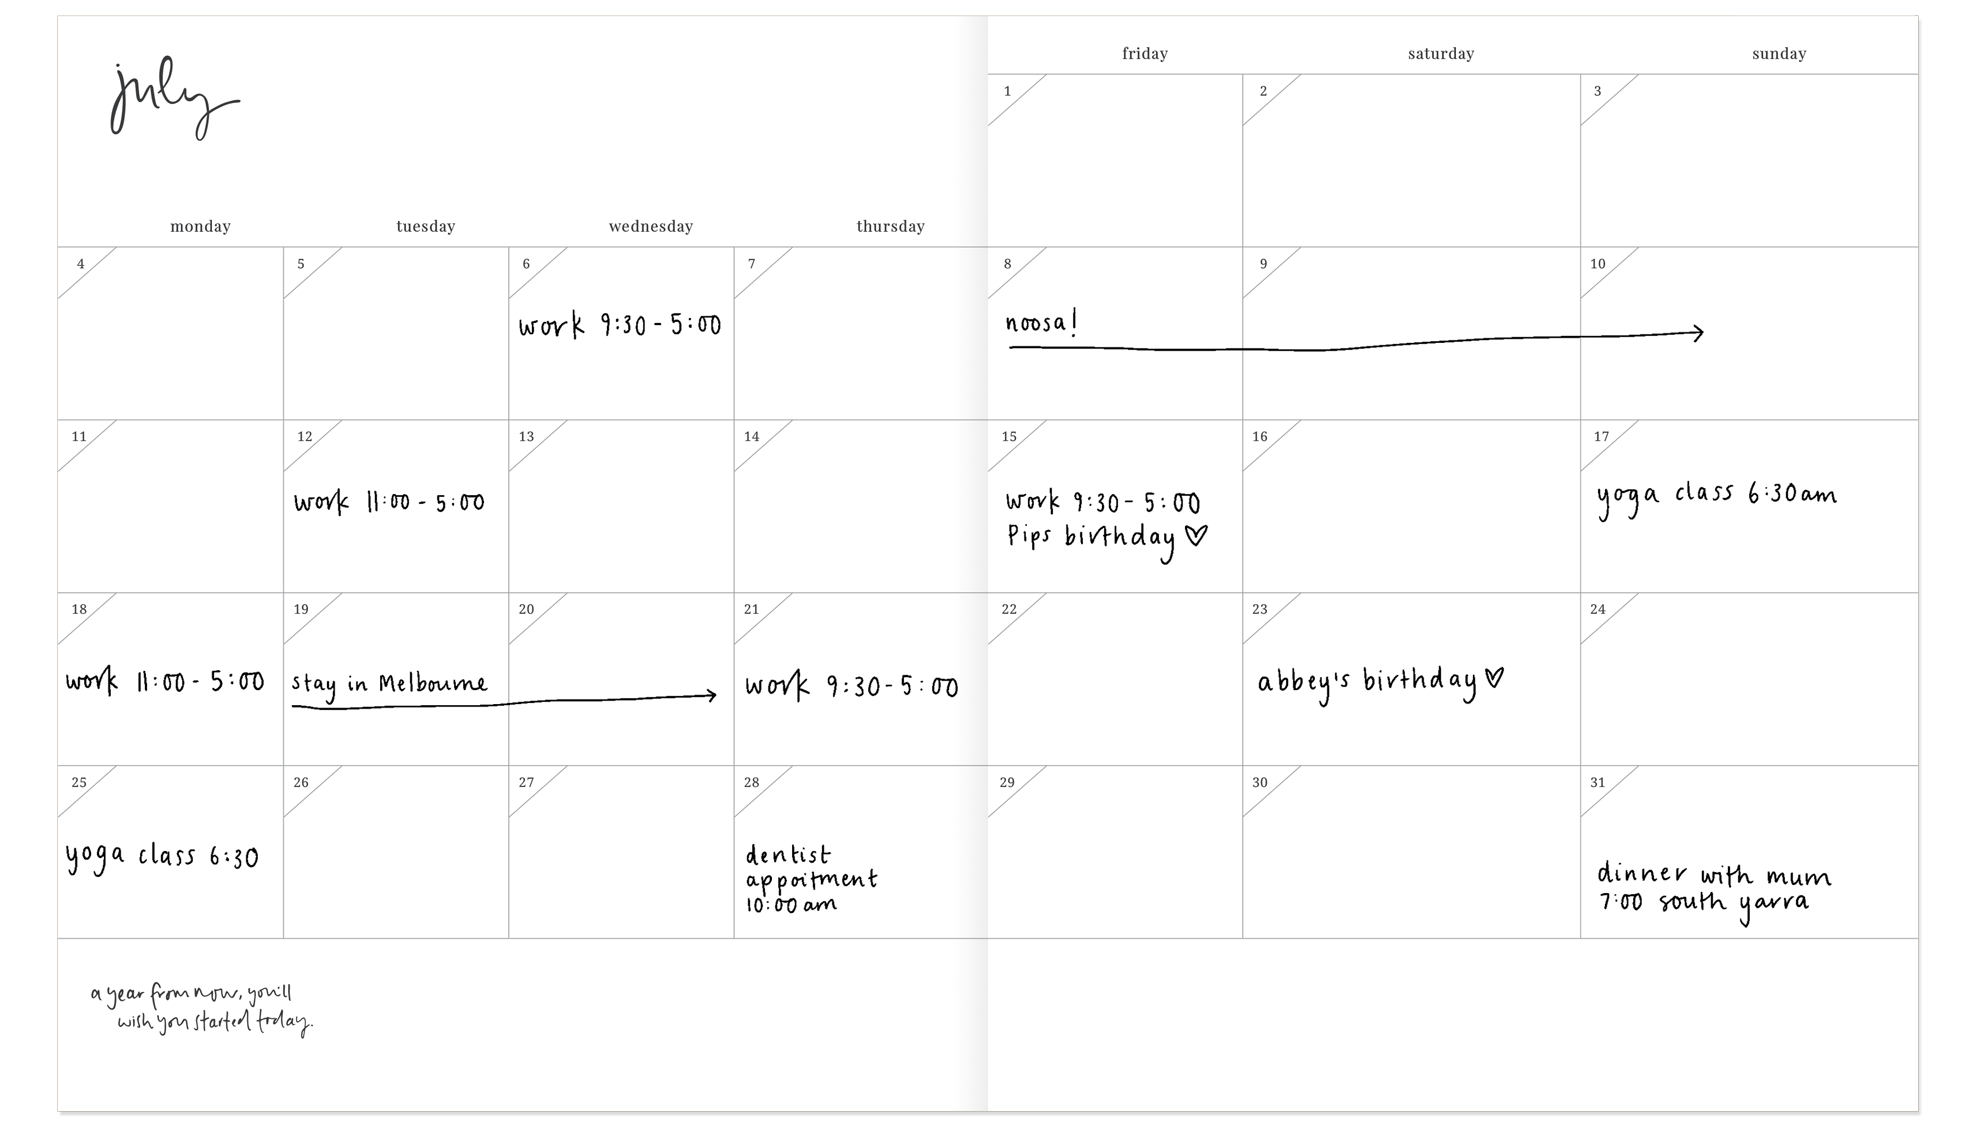
Monthly Spreads
The monthly spreads at the front of your planner are indispensable for piecing together the different parts of your days and weeks into one bigger (monthly) picture. Think of it as a top line view!
If you are someone who juggles many different hats in life, the ability to see your important work deadlines, due dates, and appointments all in one neat and tidy grid is a massive time and energy saver for planning efficiently. These dates will still feature in your weekly spreads, alongside any details that are important to that event. It is also very handy to keep birthdays and appointments here too – to prevent double-booking or avoidable schedule clashes.
For the perfectionists, this space might serve you well as a date ‘braindump’ space… Let these pages get messy, so that you can keep your weekly [or daily] spreads looking perfect!
Next time you’re on the spot and planning the next playdate, or in a meeting, or your boss drops a deadline in passing, or your bestie suggests a dinner date, quickly jot the date down in your monthly spread so that you don’t forget! Then, you can go back later and cross-reference to check if you’re actually available, or to neatly slot it into your weekly spread.
Our planner community also love to utilise this space for budgeting + keeping track of bills, managing client bookings, planning projects, campaigns and/or launches, marking out university semesters + assessment due dates, tracking habits [more on that in another blog post to come] and so much more!
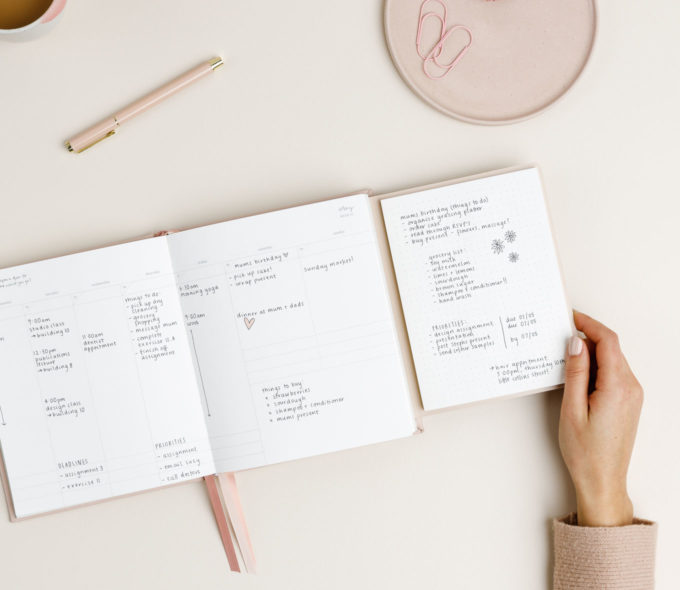
Weekly Spreads
We have consciously designed the weekly spreads as blank and open as possible, for you to define your days however you choose. Some like to break the columns down, others move for free-form. The amount of free space can be quite intimidating, but at the same time, very freeing – remember that there are no ‘right’ rules in how to plan out your week. Be brave and honest in experimenting with different structures and layouts, to figure out what feels most intuitive, efficient and enjoyable for you and your season of life.
The essence of the weekly spreads is that it is the perfect place for all the nitty gritty details of your day-to-day.
Vertical Signature Spreads:
A common layout among planner-users for our Signature Vertical Weekly spreads, is to split the columns in half, to create a top and bottom. There are endless ways to use this distinction, for example:
- – AM / PM scheduling
- – A categorical format – eg. top for work, bottom for personal, etc.
- – Using one half as a scheduling space, and the other half for a daily to-do list
Our Signature vertical layout is also much loved by the list-maker; less for keeping track of appointments and events, and more for writing out a daily task list, and ticking it off as you go. This is perfect if you also use a Google/digital calendar and already have a way of keeping track of appointments [and getting those handy alerts!]
How to Use The Top Box
This is the perfect spot to write down a daily priority or ‘word of the day’, this space is also useful for keeping track of birthdays, menstrual cycles, moon phases, or even your fitness schedule for the week.

How to Use Those 3 Little Boxes
The possibilities are endless! If you didn’t see them and immediately think of the perfect way to use these handy little boxes, then here are some suggestions, based on what some of our biggest 3-little-box fans use them for:
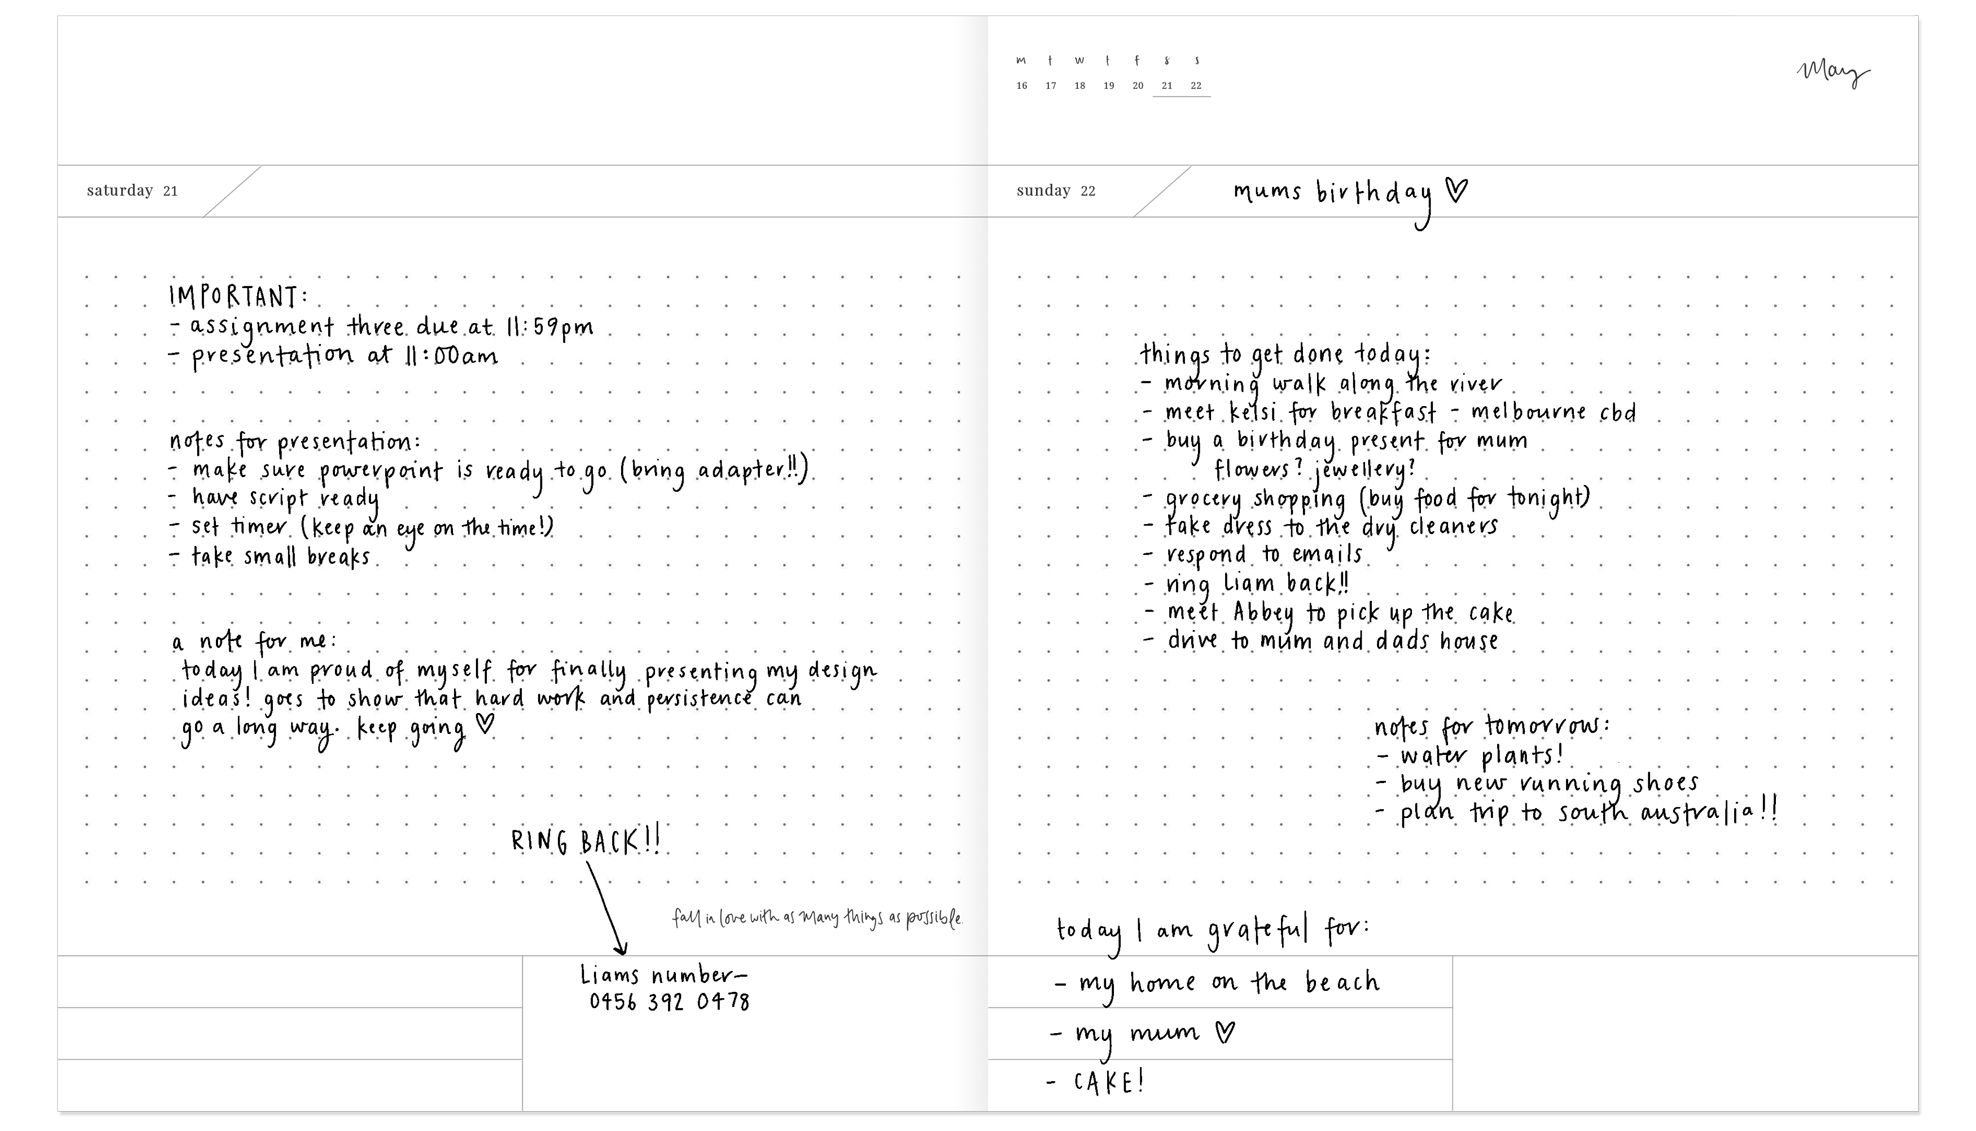
Gratitude
Use this space to record three things you’re grateful for that day! You could do this first thing in the morning, to start on a positive note, or at the end of the day as a reflection. If you’re really committed to the cause, you could do one at the start, one in the middle of the day and one at the end.
Top 3
Record your top three priorities for the day [and check them off as they’re done for that dopamine hit!].
Appointments
Leave this space for appointments and special events and occasions. That way, you can quickly and easily find any important appointments when you flick through any given week. Having things in the same place really helps.
Reminders
Like appointments, you could use this space for daily reminders of things that need to get done, places you need to be or a word/phrase to remain mindful of what’s important in the chaos
Tracking
While we have a lovely little weekly habit tracker – this is best for checking off habits or recording small numbers, such as the days that you exercised, taking medication, how many coffees or glasses of water you’ve had, etc.
For those who want to add more details you can use the 3 boxes at the end of each day for tracking ‘big’ items – things such as counting steps, tracking mood or health.
Meal Planning
This space is also very well-suited to planning out your yummy breakfasts, lunches and dinners for the week.
Family activities
Parents, this one’s for you! Use these to keep track of swimming lessons, ballet classes, basketball games, soccer practice, music lessons, tutoring… All the who has to be where’s and when’s of after school activites [and weekend games and birthday parties and sleepovers…]

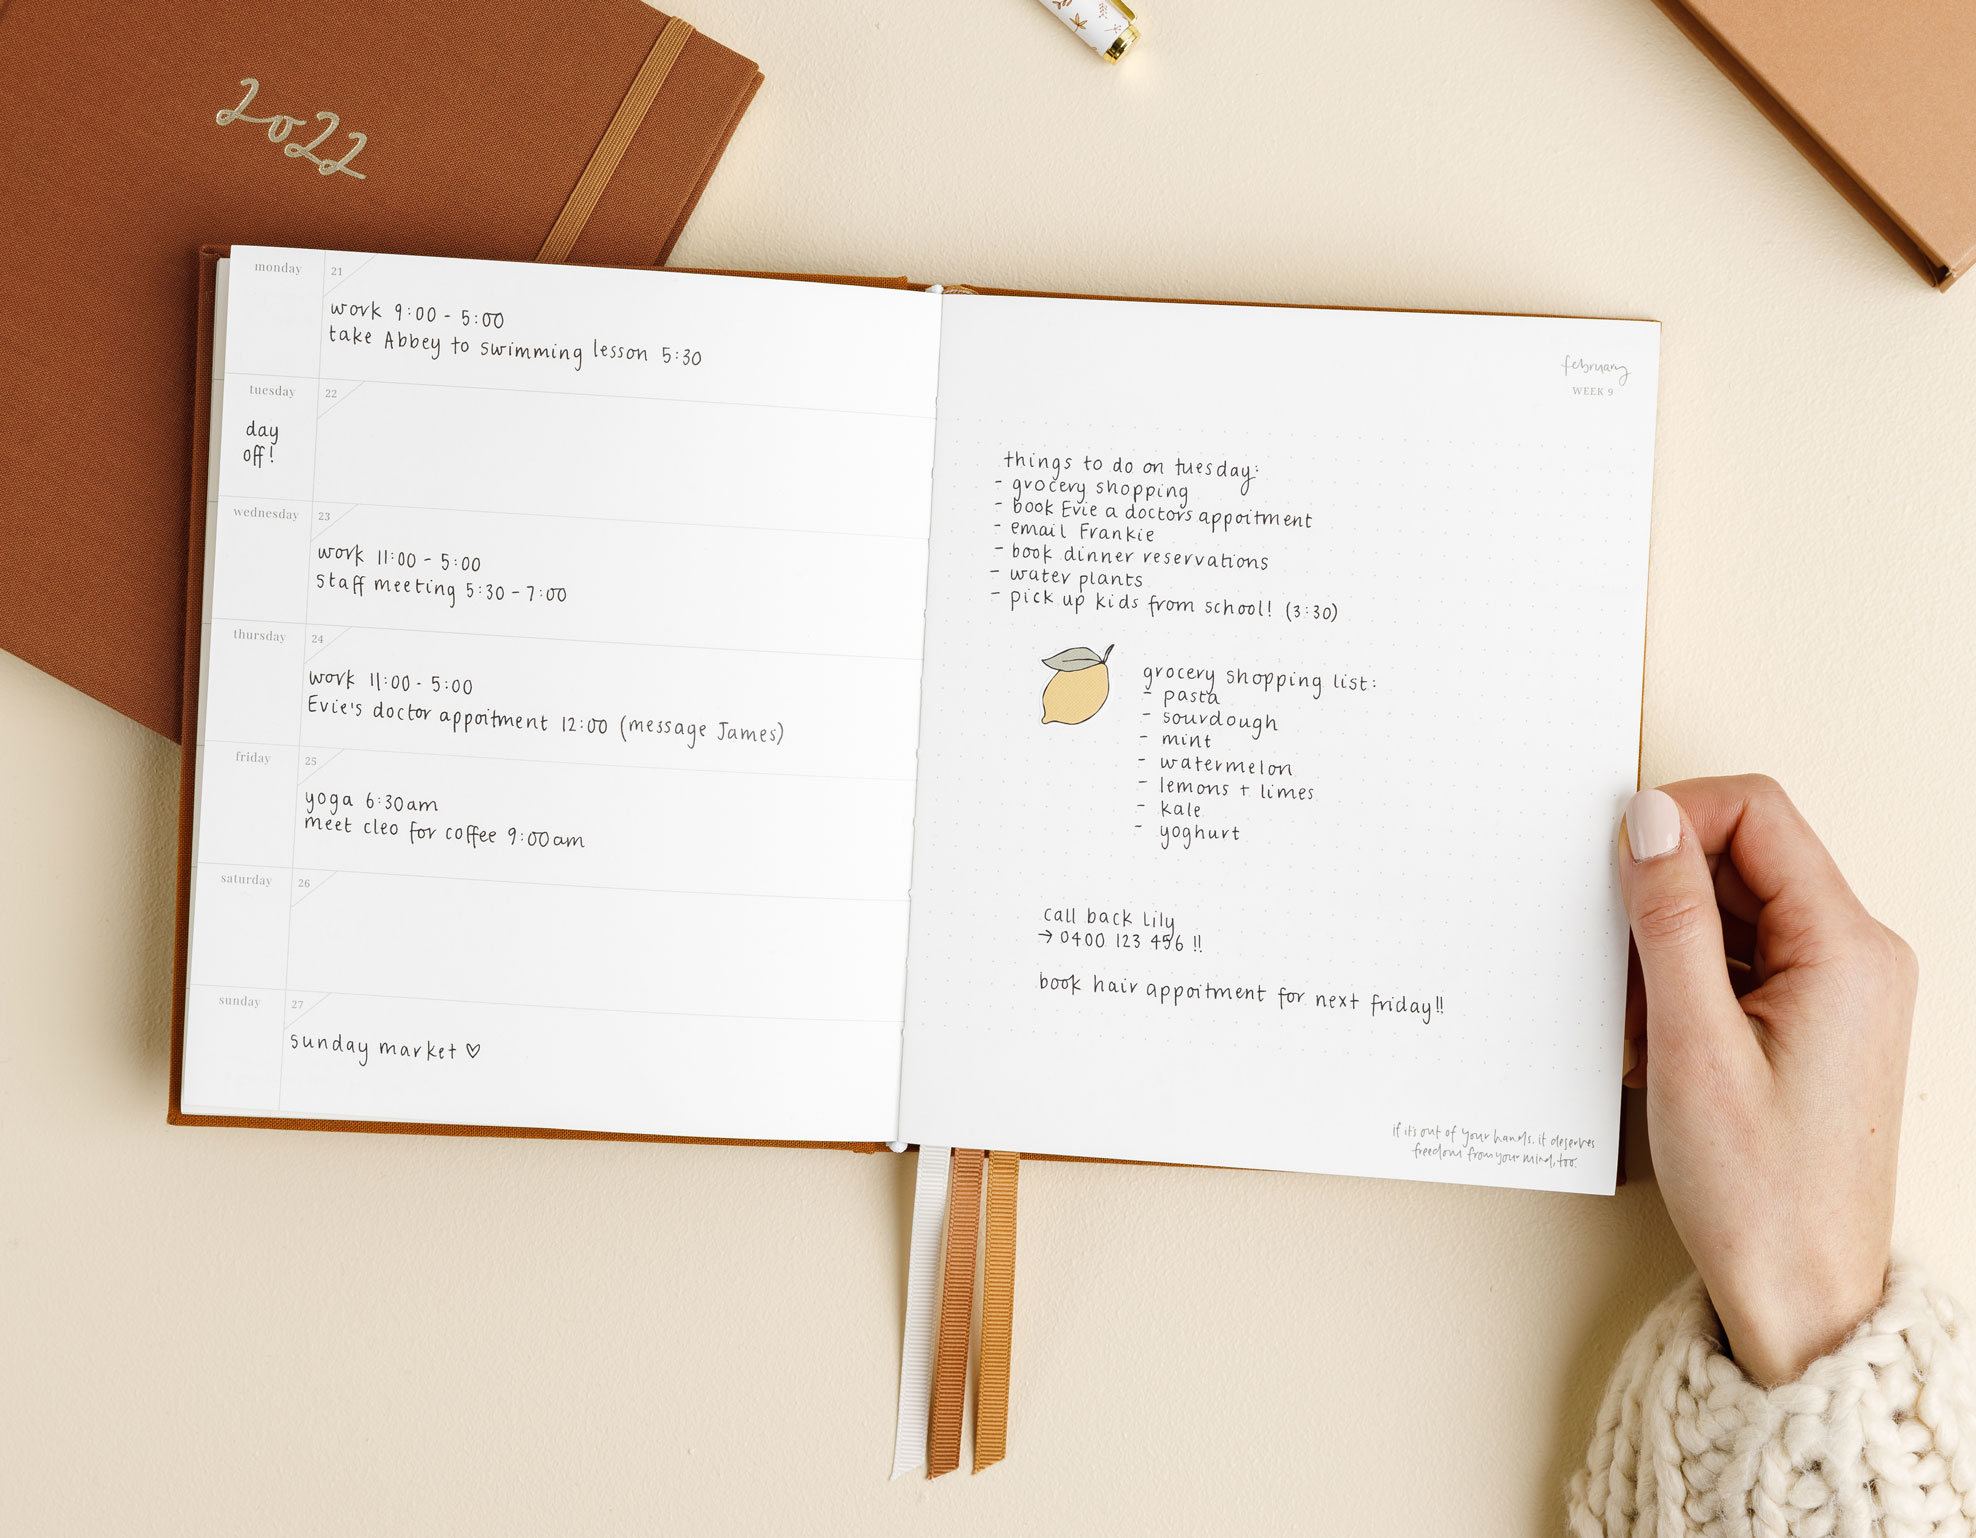
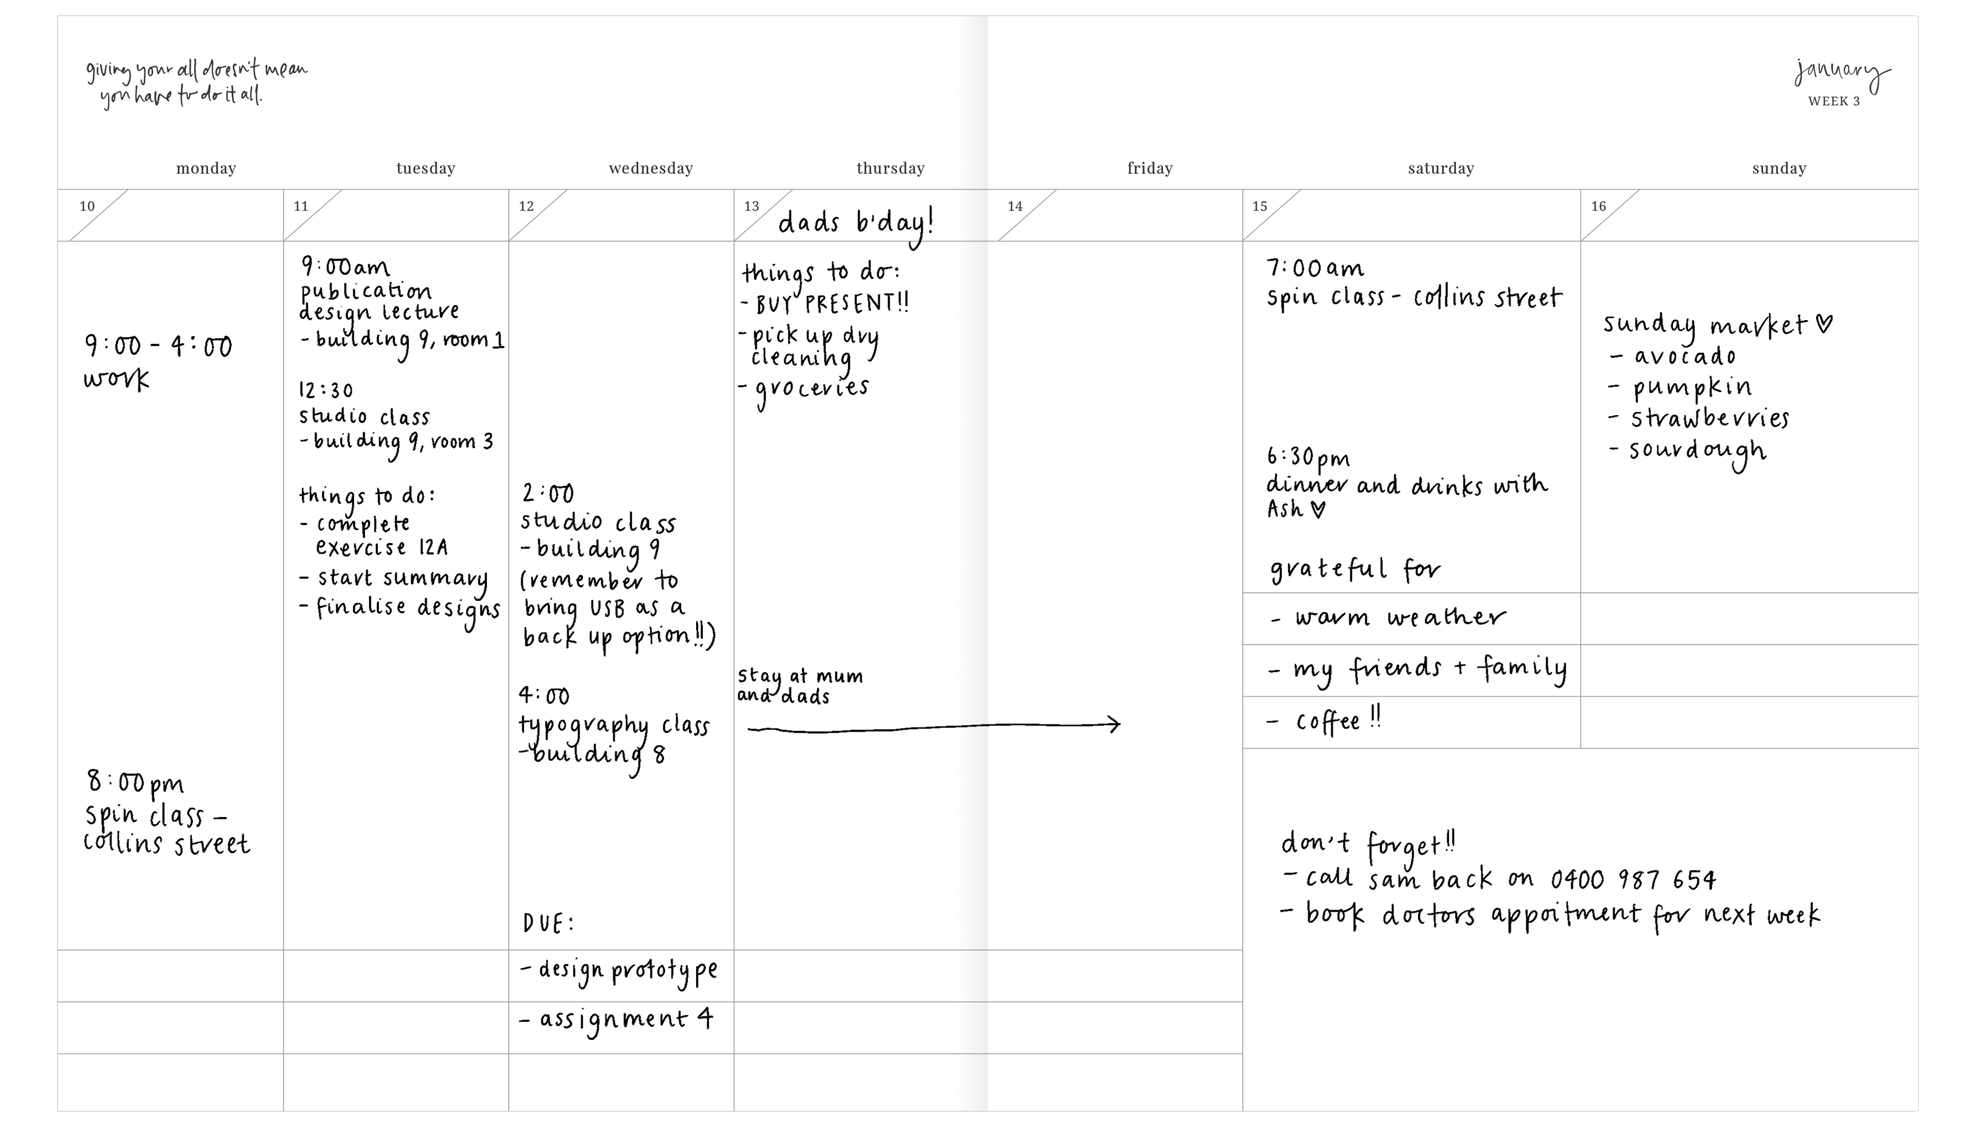
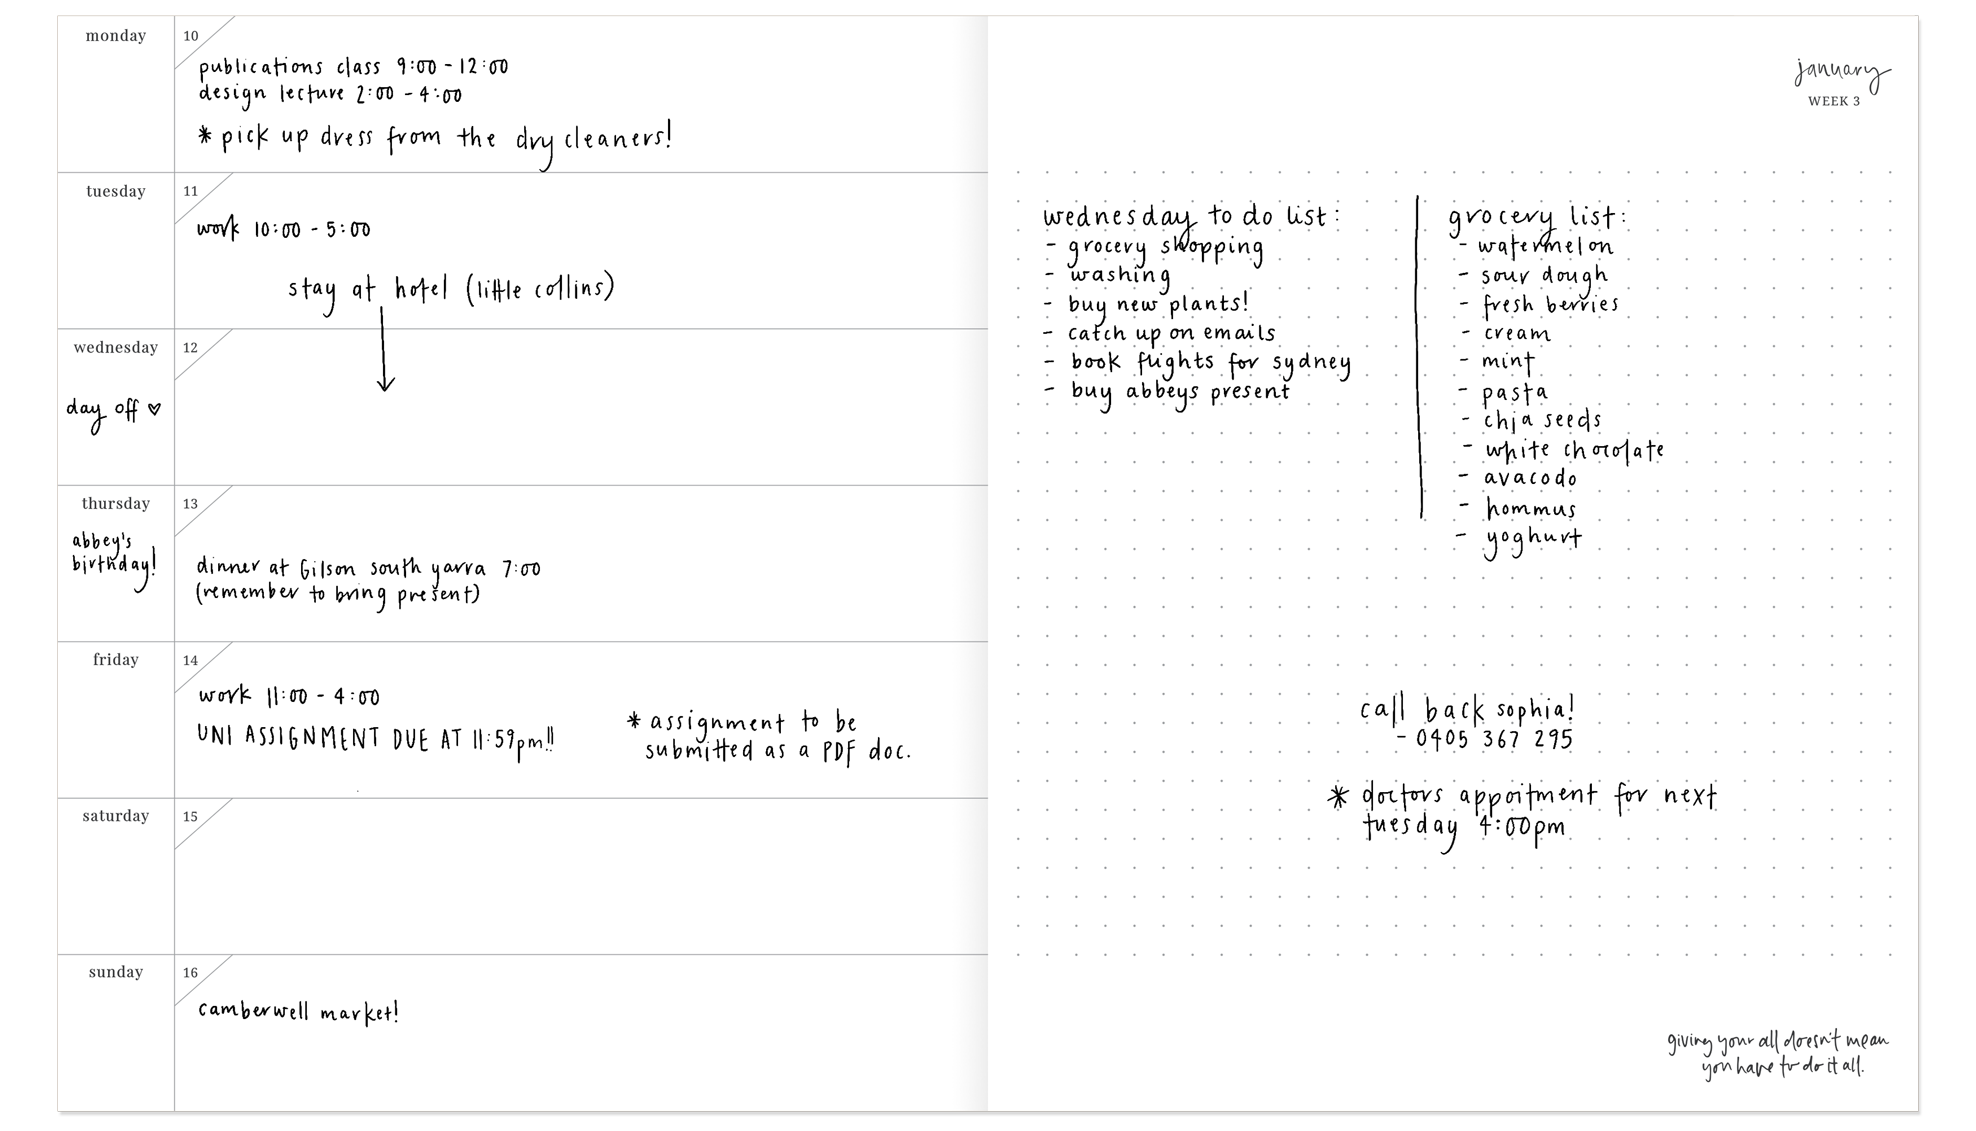
Horizontal Weekly Spreads:
Our sparkling new Horizontal Weekly layout was created for those who need that perfect blend of structure and space.
Each double spread has equally-spaced date blocks on the left for every day of the week, and a wide open dot-grid note page on the right. This allows you to have both your time-sensitive events, and to-dos with more flexibility on when they are due, all in one glance.
Working between the two spaces, you can also easily divide up the dot-grid space, as well as incorporate sticky notes and other accessories, to add more structure into your planning. The ultimate semi-structured companion for busy minds!
This spread is also perfect for journaling, or for those who use their planner as more of a keepsake. Use the dated spread on the left for recording your daily musings, gratitudes, or activities, and the right side for drawing, sticking in tickets, polaroids and other keepsakes, or for a longer written weekly reflection.
You can also create more or less distinctions in the space as and when you need. Don’t get too hung up on inflexibly (and counter-productively) holding onto one layout for the entirety of your planner – if it’s not serving you, let it go! There will be odd days, or even extended seasons, where you need more or less space, and that’s exactly why that flexibility of layout is there for you to use to your advantage.
Maybe you started the year with an AM/PM split, but as life has changed, the daily to-do list is more for you. Or, maybe your planner started out as a date keeper, but would now best serve you as a journal.
Daily Spreads
The perfect place for planning BIG.
This style is loved by entrepreneurs and small business owners, as well as parents, teachers and journallers.
It’s the perfect place for huge brain dumps and big dreams. Or, you can strategically divide the space however works best for you; the most common way is essentially down the middle (or across the page) to create two columns/segments, where you can create a:
– Categorical divide – using one side for work and the other for personal, or one side for appointments and the other side for to-dos, or aetc.
– ‘Structured’ space on one side, and a creative, ‘brain dump’ or reflection space on the other.
- Remember, planners aren’t always just for planning. One of the best ways we’ve seen the daily used was as a journal to document a 12-month overseas experience. This member of our community used each day to journal and scrapbook her time spent living + working overseas for 12 months. The planner became a keepsake, and we’re sure she will look back on those precious memories fondly for years to come.
There’s no hard and fast ‘rules’ for using your planner!
We hope that these suggestions serve as prompts to help in facilitating your own design of how you would like to use this space. There is also so much room to incorporate more dynamic planning tools such as sticky-note to-do lists, habit tracker notes, clipping on important documents or notes for a particular day [hello fat paper clips!], or stickers and pictures to commemorate milestones and important dates.
Blank Note Pages
Anything! Everything! [maybe not everything, there’s not that many!] but these are the perfect place to keep all the most important things:
– Intentions for the year + goals
– Top-line budgeting
– Inspirational + motivational words
– Sticking tickets + polaroids
– Jotting down important reminders
– Drawing [or doodling while on hours-long calls with your mum]
– Writing down recipes from friends
– Planning menus for dinner parties
– Keeping track of films to watch
– Checking off books you want to read
– Writing down addresses
– And quite obviously, as a space to just make notes!
The 6-Month Ahead Calendar
It’s incorporated into our planner layout for our busy bodies, creatives and service industry community; many people need to see well into the future, with booking clients (especially for weddings), for business strategy, or even academic and work planning. It’s also handy as you’re approaching the tail-end of the year, and need a space to jot down upcoming dates for the next year before you start using your new planner!
We hope these tips inspire and provide some guidance as you begin to fill your planner pages. Stay tuned for more helpful organisation how-to’s as we continue our 2022 planner series, we are so excited to begin this new year together – bring it on! x